Station.com
Sign In Join Free Why Join?
Sony Online Entertainment
Community Store My Account Help
  Search   |   Recent Topics   |   Member Listing   |   Back to home page
Rare's cinematic image dump v11.3 (**SPOILERS**)
Search inside this topic:
The Matrix Online » Top » Gameplay Discussion » Missions and Storyline Previous Topic  |  Next Topic      Go to Page: Previous  1  ... 8 , 9 , 10 , 11 , 12 , 13 , 14  Next
Author Message


Veteran Hacker

Joined: Jul 26, 2007
Messages: 199
Location: Acherus: The Ebon Hold
Offline

Shimada was the one character that I was hoping for not to die, but oh well. The cinematic was awesome and I cant wait for the next one.


Matriculated Mind

Joined: Oct 29, 2005
Messages: 27
Offline

Stunning, just really amazing!  Awesome job Rare!  I've been pumped all day at work to see this, and it did not disappoint!

Now to actually play!

Sigma


Development

Joined: Dec 2, 2005
Messages: 21413
Offline

Tesma wrote:

Shimada was the one character that I was hoping for not to die

Really? Why's that?


MC Photographer

Joined: Aug 15, 2005
Messages: 2226
Location: Syntax
Offline

I liked it, though I stand by my previous comments wondering if the style will suit all or the cinematics to come.  I'm also not sure the time spent couldn't be better spent on other things.

One thing that could be improved, though, is the sound.. these things need some sort of sound.  At the very least, leave the Loading Area bg music playing or use one of the other tracks already in game.


Perceptive Mind

Joined: Aug 17, 2005
Messages: 594
Offline

Rarebit wrote:

Tesma wrote:

Shimada was the one character that I was hoping for not to die

Really? Why's that?


Yea, seriously. Why is that?


Development

Joined: Dec 2, 2005
Messages: 21413
Offline

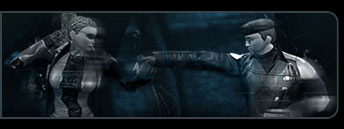
The artwork was drawn in Photoshop 4 with an Intuos 3 6x8 drawing tablet. It was animated in Ulead GIF Animator 5, and exported as a SWF file in ImageReady CS2.

The weird drawing method I use has been described before, but here's a quick tutorial for anyone who happens to be curious. Screenshots are from PS4.


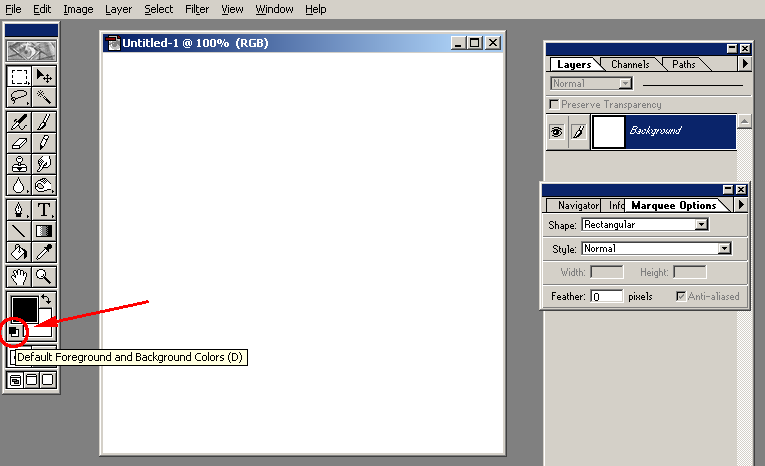
1) You could use any two colors you like. I usually stick with the default black/white foreground/background colors. Photoshop (at least up through CS2; not sure about newer-fangled versions) has a handy button you can click on the toolbar to reset them, or you can just use the "D" keyboard shortcut.


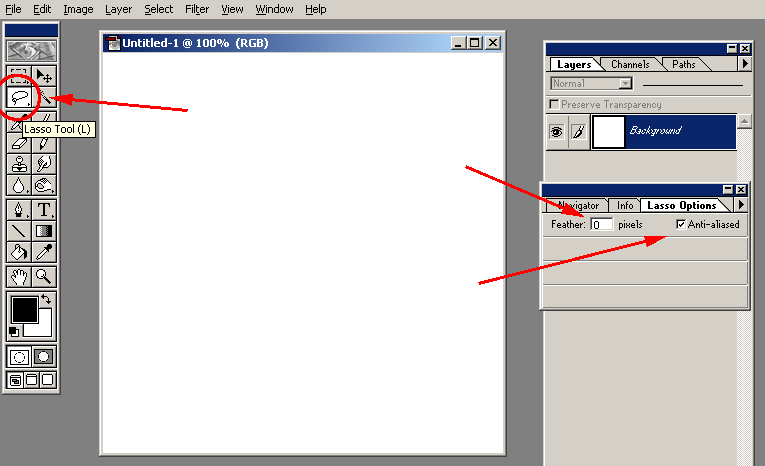
2) Select the Lasso tool, and make sure it's set to Feather = 0, and Anti-aliased is checked.


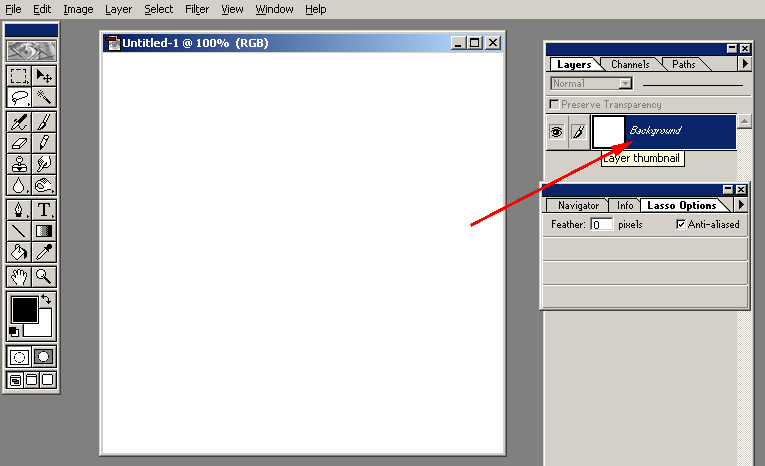
3) In the Layers window, sure you have the Background selected, and not on a regular Layer.

If you've already converted your Background to a Layer, you'll have to do "Flatten Image" to get a real Background again ("Layer > Flatten Image," or use the "Flatten Image" command from the ">" button at the upper right of the Layers window; this is a destructive change, so you may be better off just making a new image).


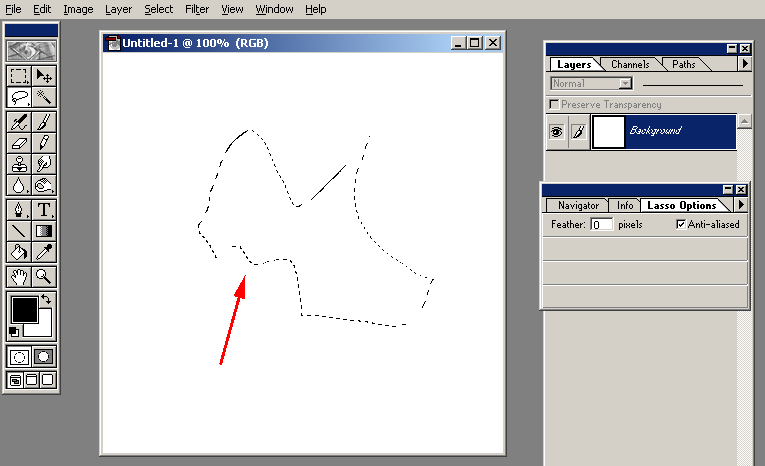
4) Draw the shape you want on your canvas with the Lasso tool. When you release the button, you'll have a "crawling ants" selection in the shape you drew.

You haven't actually made a change yet, so if you don't like the shape, you can always just clear the selection (CTRL+D, or just click somewhere else on the canvas) and make another.


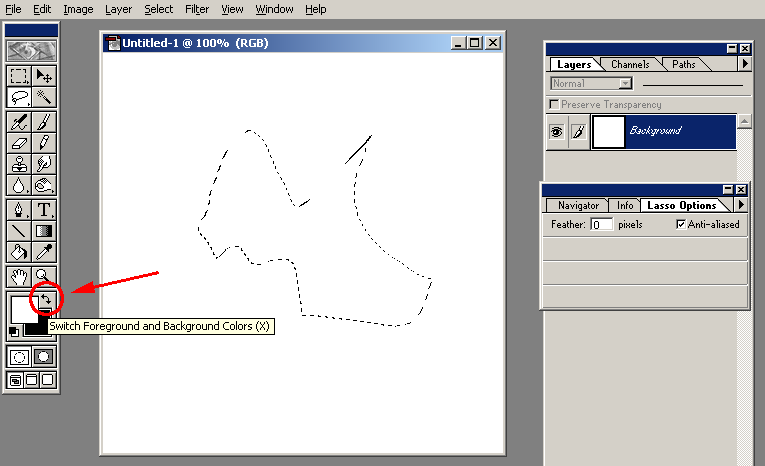
5) Make sure the color you want your shape to become is set as the current Background Color.

If you're just using black and white, you can toggle between the two by pressing "X," or by clicking the little curved double-arrow icon on the toolbar. The box below it shows your current Background Color.


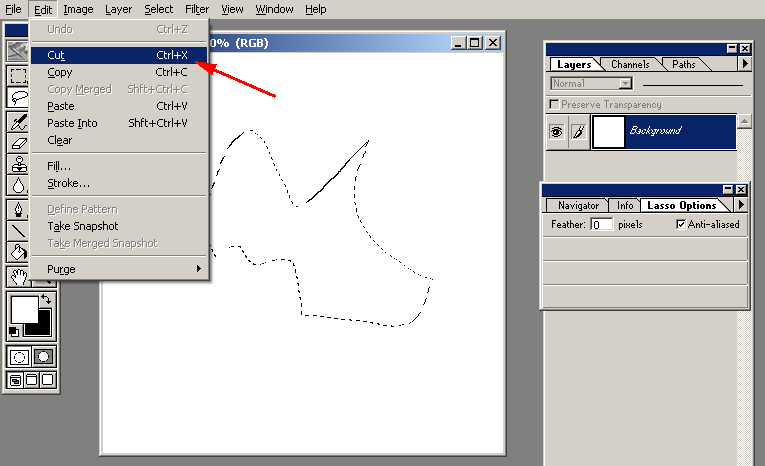
6) Cut the shape you've made out of the Background by using the "Cut" command. The keyboard shortcut is CTRL+X, or you can use the menu command.


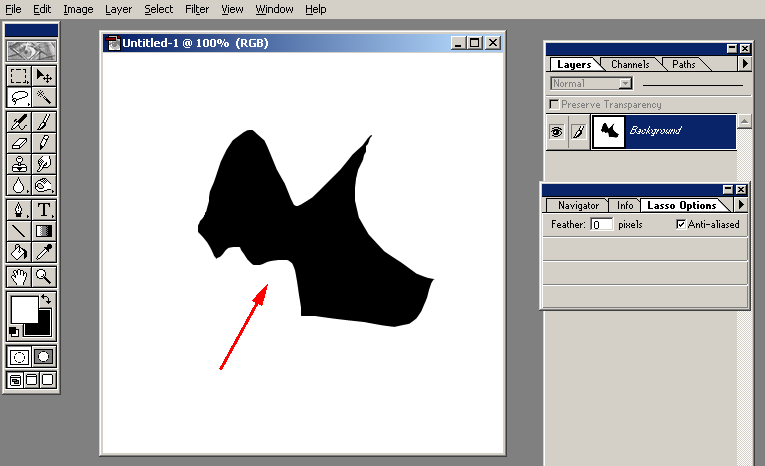
And you're done: your lasso selection cuts away the Background to the Background Color in the shape you drew.


If you ever want to clear the whole mess and start over, just CTRL+A to select everything, and CTRL+X to cut it all back to the Background Color.

If you make a cut you don't like, just Undo (CTRL+Z) to get back to where you were before.

If you like a shape you've got traced with the Lasso, but want to modify it a bit, hold SHIFT while drawing to add to the shape, or ALT while drawing to subtract from it.


Most of the drawings I do this way are made with many lasso selection cuts in both black and white. The drawing tablet pen I use has two thumb buttons, and I've set them up so that in Photoshop they're bound to Cut (CTRL+X) and Foreground/Background Color toggle (X). That lets me draw a shape, click the thumb switch to cut it out, and toggle back and forth between cutting to black and cutting to white very quickly--pretty handy.

For drawings that are going to be rendered out, I usually draw them double-sized, viewing the canvas at 50% magnification (CTRL+- twice). If you zoom in on them (CTRL++) they'll look a little wobbly, but when you shrink the image down by 50% along each dimension after you're done drawing ("Image > Image Size..."), it results in a smoother image than you'd have been able to get otherwise. Also, you can zoom in to 100% pixel size if you need to do precise work on a small detail.


Development

Joined: Dec 2, 2005
Messages: 21413
Offline

The frames are 717x375. The bottom 75 pixels is the "black bar" subtitle area; the cinematic image area is 717x300 (2.39 aspect ratio, which seems to be current cinema standard, although standards vary a bit).

The art, as mentioned, is (mostly) drawn at double size, ie 1434x750, then scaled down by 50% to reach the final size.

Captions and subtitles are added after the art is scaled down. The fonts are OCR A Extended for captions, and Georgia for subtitles, both 20 pixels, no anti-aliasing. Placement (in Photoshop you can set Guide lines crossed at the exact coordinates, which is very handy for placing lettering later) is 28x22, left-aligned for captions, and 358x342 (one line), 358x332 (two lines), or 358x322 (three lines), center-aligned, for subtitles.

Some of the source art was cut out from the background for layering. Because I draw mostly on the Background, this means I have to cut away the areas I want to mask when I need to use the art in a layer. To do this I make sure I've drawn a solid black or white outline around the object I want to free from its background, duplicate the Background layer into a regular layer, then use the Magic Wand (0 tolerance, Anti-aliased on) to select the parts I want to remove. After this you have to do "Select > Modify > Expand..." = 1 to make sure the edges are completely covered, then CTRL+X to cut away, leaving the shape free in a transparent background.

The Expand operation results in a tiny bit of image loss at the edges, and Magic Wand requires that you have a solid outline to start with, so it will save time and give better results if you decide before you start drawing whether or not you're going to need to mask the object you're drawing, and draw with that in mind (making complete outlines, and making any details thick enough to survive losing up to one pixel of edge). If you've got the perfect image but its got into a state where you simply can't cut away the background and still preserve your shape, you may have to resort to using Darken or Lighten (or Multiply/Screen--same diff for black and white artwork) blending modes on the layer instead, although this will limit the places you can use it in compositing.

I'm going to dump some of the more successful drawings here in their high-res, sometimes alpha'd source versions, so you can use them for whatever you like.


Development

Joined: Dec 2, 2005
Messages: 21413
Offline

Slideshow of the original 90 storyboards, the idea was that each would represent about a second of finished animation.


Femme Fatale

Joined: Oct 27, 2007
Messages: 1223
Offline

Did Veil get a haircut?


Systemic Anomaly

Joined: Aug 15, 2005
Messages: 4367
Location: Syntax Server Organization: EPN Faction: E Pluribus Neo HvCFT: Anderson's Heart
Offline

Cadsuane wrote:

Did Veil get a haircut?


RSI doesn't = appearance in the real.


Development

Joined: Dec 2, 2005
Messages: 21413
Offline


Development

Joined: Dec 2, 2005
Messages: 21413
Offline


Development

Joined: Dec 2, 2005
Messages: 21413
Offline


Development

Joined: Dec 2, 2005
Messages: 21413
Offline


Development

Joined: Dec 2, 2005
Messages: 21413
Offline


The Matrix Online » Top » Gameplay Discussion » Missions and Storyline Go to Page: Previous  1  ... 8 , 9 , 10 , 11 , 12 , 13 , 14  Next
Go to:   

Version 2.2.7.43