This signature is designed to help those people who are new to sig making and would like to have a crack at doing it for themselves.
For this tutorial I will be using my copy of Photoshop CS2 so i warn you in advance that some of the features that my version has may be different to yours.
First of all we want to get a picture :
This is the original...
Step 1 - First of all we need to select the area of the picture that we want. Obviously we can't use the whole picture because it is far too big. Pick the rectangular marquee tool and select the area you want, then go into (image>crop)
Step 2 - Now we can see that the picture is of a fair size. The next stage is to make the picture look more...matrixy. For this we add some extra layers on. (Layers>new adjustment layer> hue/saturation).
Set the saturation to around - 40 and leave the rest as they are.
Step 3 - The next step for us is to add another layer, for this one we will go to brightness and contrast.
(Layer> new adjustment layer>brightness/contrast). Set Brightness at around 55 - 60 (unless it is a night time picture in which case you should use around + 32) and contrast at between +20 and +25, i used +23 for this tutorial.
Step 4 - Now we are going to add the final adjustment layer which will be the color balance one. Again go into (Layer>new adjustment layer>color balance) and put -10 in the first box for Cyan and 25 on the second box which is for green.
At this point go in (Layer> flatten image) This will merge all the layers into one.
Step 5 - Next we need to duplicate the background layer so we can add some effects with it, but then we can mess around with it to get the desired effect. Right click the background layer and select duplicate layer.
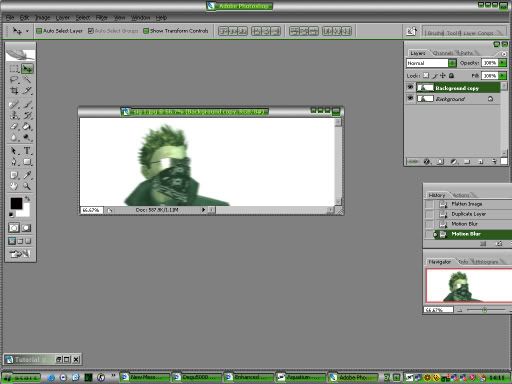
Step 6 -Now we want to add some nice effects. The first effect i want to add is some blur. There are two types of blur available to us that are suitable which are called motion blur and gaussion blur. For this tutorial i am going to use Motion blur because i personally prefer it. Next go in (Filter> Blur> motion blur), leave the levels at their default (Note - make sure you haev the duplicated layer selected at this point) then click ok. If you want to add more blur just press ctrl + F...until you reach the desired level of blur.

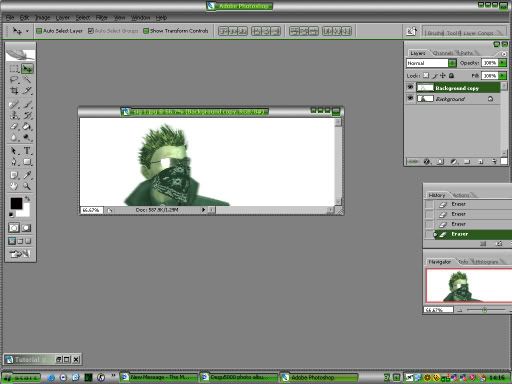
Step 7 - If you want to keep the blur on the sig then don't follow this step and skip it. Now we need to select the eraser tool on the left side and put the eraser at a fair size, then move carefully over any parts that you want to remove the blur effect from, i am going to remove it from my RSI. When you are erasing the edges of the object use a much smaller eraser of around 3 pixels to avoid going over too much. Do not worry if you go over slightly, you can always fix it by going into shape blur (Filter> Blur> Shape Blur) while have your duplicated background layer selected, this will blur the edge of your object.

Step 8 - Now that we have enhanced our image, we can put some final touches into it. This is commonly Text. Signatures don't all need to have text in them it is just something extra if you want to. People like Aquatium often don't use text and it makes no difference at all. To add text simply go into (Layer> New> layer) then name it text 1 or something, next grav the text tool, use any font which looks suitable and make sure the size of it fits in with the sig.
To avoid the signature being too big, we now need to check that it isn't oversized so right click the smaller window that the image is in and click on image size. The standard size for signatures is 500 by 150 pixels so enter that into the boxes. Next we have to upload the image to a host site. I use photobucket but imageshack is good also (
www.imageshack.us) (
www.photobucket.com). When it is all uploaded you can finally place it in your own signature on the forums or post it in a thread.
Here are some other examples...
Thank you, I hope you enjoyed my first of many tutorials...

